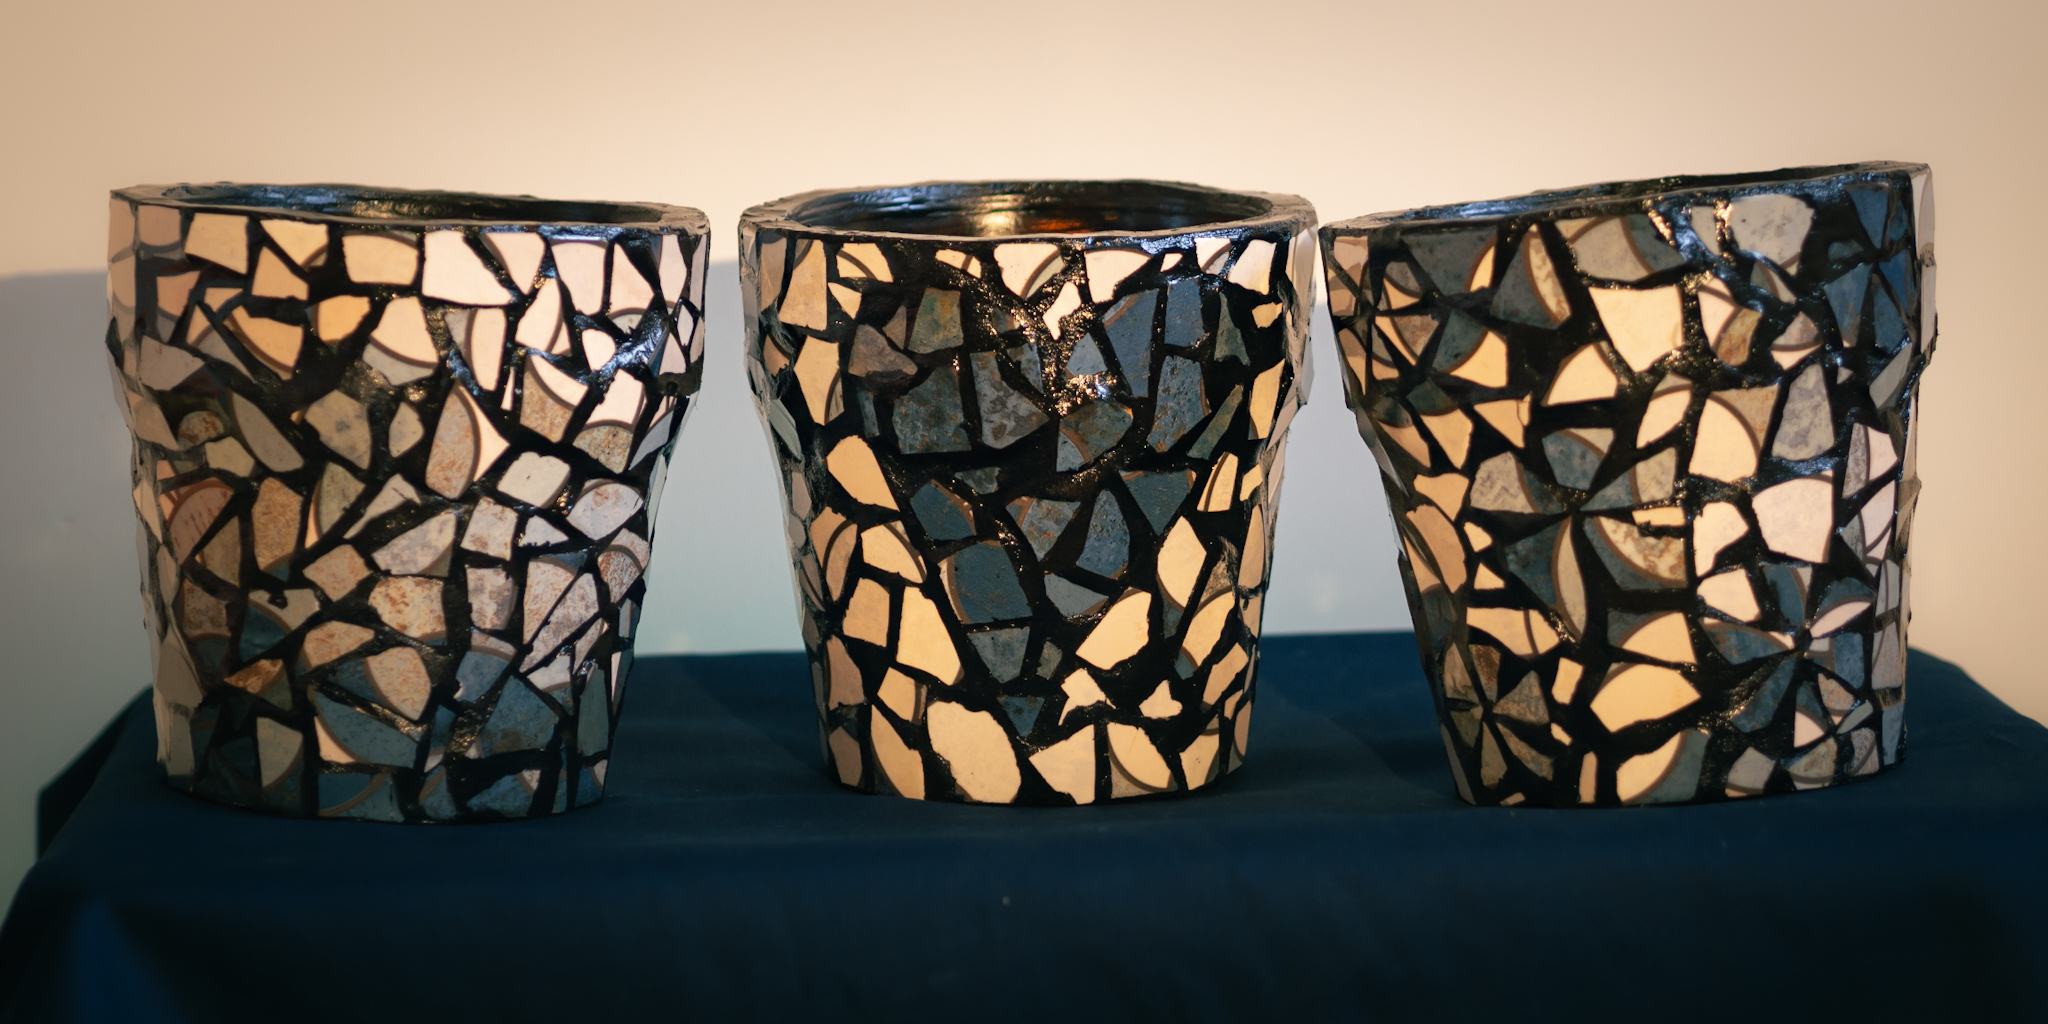
One of my best friends invited me to check out their new house. I started thinking about what would be a great housewarming gift for them. My friend got into gardening recently, so bringing a plant would have been a good option, but she knows more about plants than I do. How could I figure out which plant to choose? Therefore, I decided I would do the next best thing, I would bring flowerpots. But I wanted to make them match the style of their home. And I knew that they had very cool tiles in their brand-new kitchen. I casually asked if I could borrow some of the leftovers for one of my DIY projects. They gladly gave some to me. So I made the flowerpots with their tiles. They were so surprised when they opened the present, and realised that they got back the tiles.
Tools and Materials
I would say that making a tile mosaic is not the easiest and cleanest DIY project. You will need some tools from the shed and protection gear as well. And I would advise you to do this outside because it can get messy.
You will need the following:
- Tiles
- Tools to break the tiles into little pieces:
- Hammer or professional tile cutter
- Cloth to wrap the tiles and prevent the shreds from going everywhere
- Protective gloves and glasses
- Base planters or flowerpots (I used clay pots)
- Glue (I used a glue gun, but tile adhesive is an option as well)
- To fill in the gaps between the tiles:
- Cement grout or other type of tile joint filler
- Disposable bowl to mix the grout
- A bowl of water and sponges to wipe away the excess grout
- Rubber gloves
Instructions
1. Break the tiles
Please be very careful during this step and wear protective gloves and glasses.
- Wrap a tile into a simple cloth to prevent the shreds from flying everywhere.
- Hit the wrapped tile with a hammer several times.
- Tip: try to hit it on the back to minimise the chipping of the paint at the edges
- Upwrap and carefully take out the pieces.
- If the pieces are not small enough then break them further individually.


2. Make a pattern
- Because my tiles were colourful, I started by separating the different shades.
- Then it’s a puzzle game to make out shapes on a flat surface.

3. Glue the tiles onto the flower pot
I suggest testing out your glue first to make sure it will hold the tiles in place securely.
- Start with the pattern pieces you made, then the edges and lastly fill out the rest.
- Try to make the surface of the tiles as even as possible.
- And try to glue them as close as possible.
- Tip: If you are also using a glue gun, make sure to clear out the flyaway strings of glue. Trust me they will cause a headache later.


4. Fill in the gaps between the tiles
This is a really messy step. I recommend placing old newspapers or other protection on your working area and a bowl of water with sponges at hand to be able to wipe grout off quickly.
- Follow the instructions on the package of the grout that you have.
- Mix it well with water to a paste-like consistency.
- Apply it onto the pot and make sure it fills out every gap between the tiles.
- Tip: I found it was easier to do this with my hands, wearing rubber gloves.
- You will have to do this step relatively quickly before the grout dries and won’t be malleable anymore.
- Wipe away the excess with a cloth or a sponge. Make sure the surface of the tiles is cleaned properly.
- Let it dry for at least a day.

5. Additional refinements
- Make a clean and even finish on the top and the bottom of the flowerpots with the grout.
- Check the edges of tiles if need more grout or scratch away the little extra.
- Brush off the grout dust and gently wash the pots.
- Finally, if needed spray the pot with lacquer spray.


