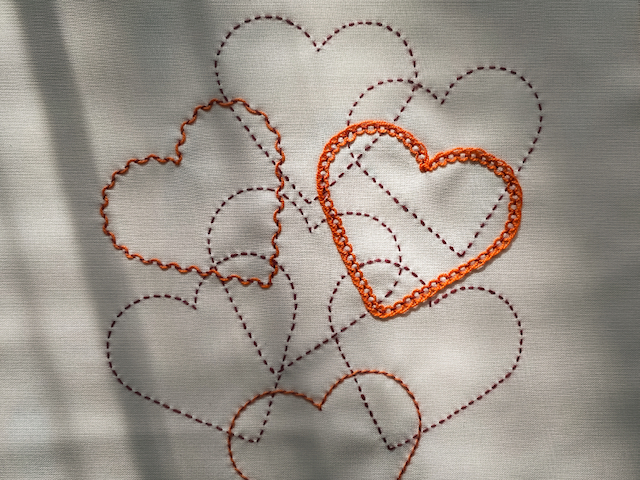
Embroidery practice doesn’t have to be dull! While repeating the same stitch can feel a bit boring, honing your needle skills is key. That’s why I came up with a simple and enjoyable project to spice up your practice routine. Instead of the usual straight lines, I decided to stitch lovely shapes. I had a heart-shaped cookie cutter lying around, and voila, a heart pattern was born. The key stitch? The trusty running stitch. To amp it up, I threw in a few decorative twists with variations of the running stitch.
Excited to share the fun? I’ll guide you through these stitches so you can whip up your own delightful practice project!


Running Stitch

- Very simple: up, down, up, down…
- You can also experiment with the length and the spacing of the stitches.

Threaded Running Stitch

- When the running stitch is done, take another colour and thread it under the base stitches.
- Here, a wave is created by alternating which side the thread is pulled under the base.
- A Double Threaded Running Stitch can also be created by going through the stitching again, but from the other direction and creating the opposite side of the wave.

Whipped Running Stitch

- This is very similar to the Threaded Running Stitch, but the second thread is always pulled from the same side of the base instead of alternating.
- Rather than a wave, it creates a twisted shape.

Looped Running Stitch


- Creating these loops is a little bit more complicated than the others.
- On one side we stitch forward leaving out one base stitch.
- On the other side, we stitch backwards under the next base stitch.


