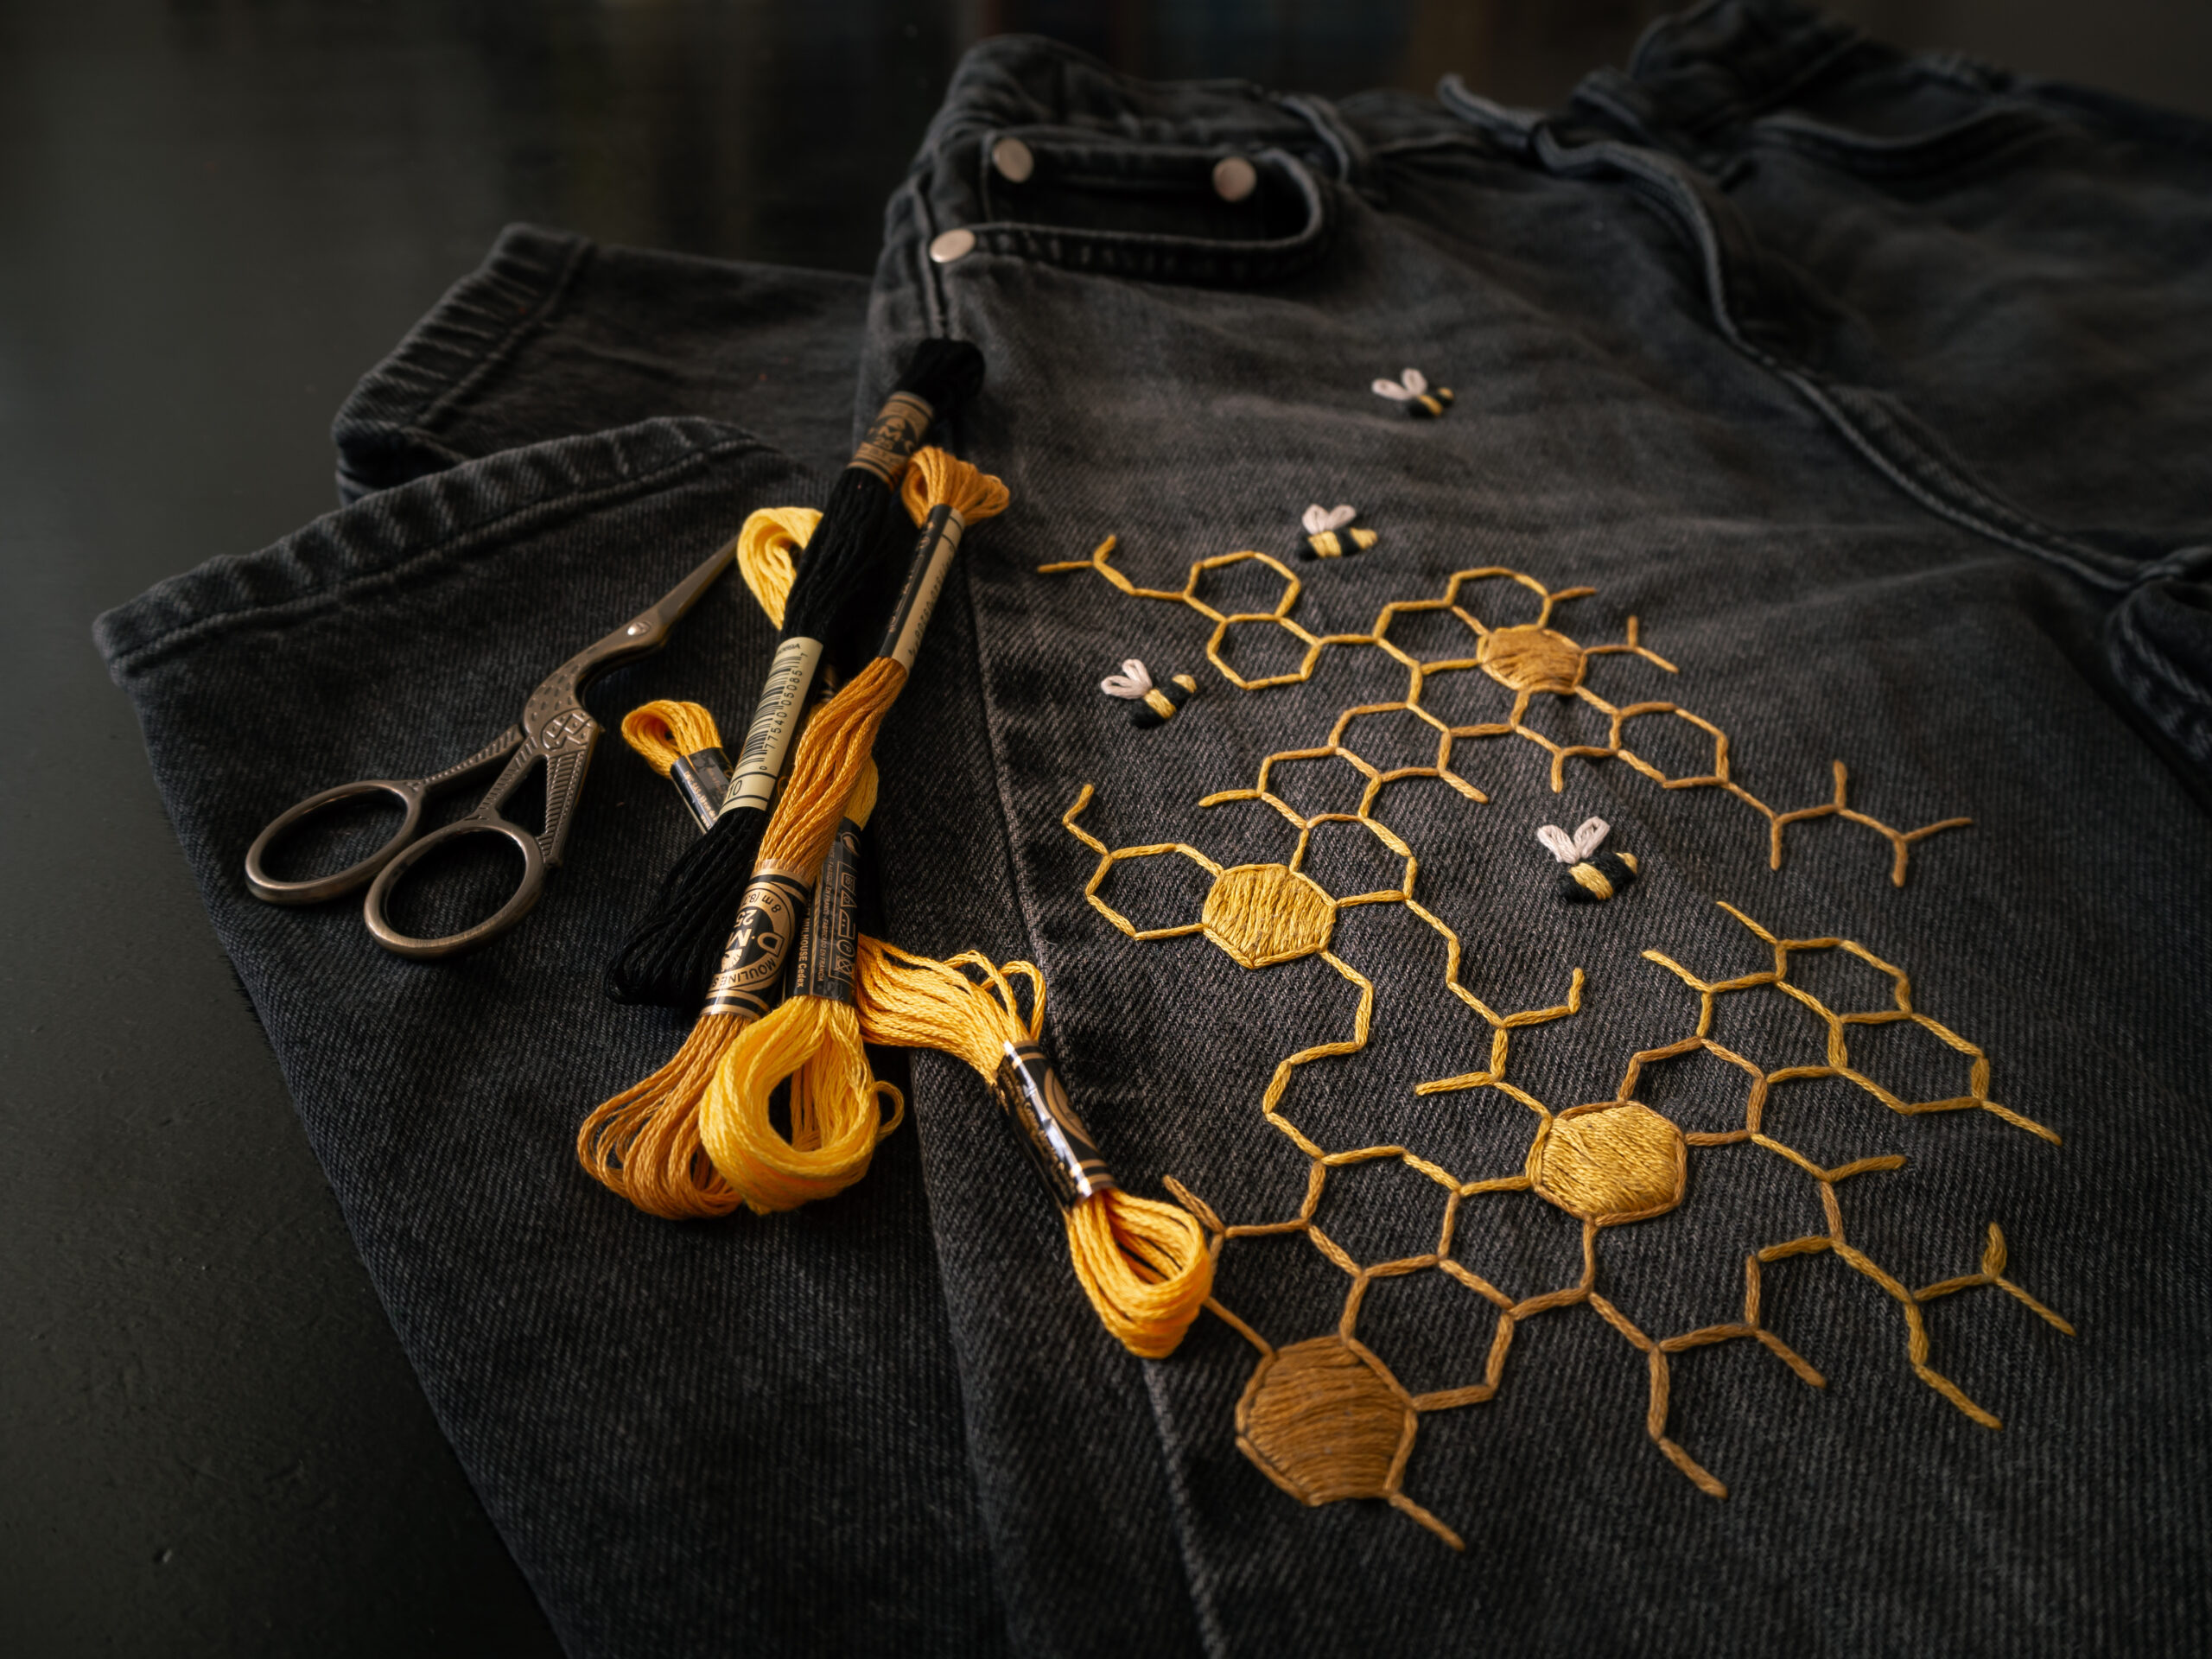
When a friend commissioned me to embroider a bumblebee pattern on black jeans for her daughter, I jumped at the chance. It was the perfect opportunity to practice my skills and create something that would be worn and loved. This beginner-friendly project, using only basic stitches, is not only fun but also a great way to personalize your clothing. Let’s get stitching!
Tools and Materials
Just the standard embroidery kit is all you will need.
You will need the following:
- Jeans
- Embroidery floss (black, white, different matching shade of yellows)
- Needles
- Water soluble fabric stabiliser for easier pattern transfer for darker fabrics
- A marker or a pen to draw the pattern
- Additional back facing stabiliser is not needed for heavier textiles like denim.

Instructions
1. Transfer the pattern
- Draw some hexagons and a few bees onto the stabiliser
- Tip: I recommend to draw with permanent marker or with a water soluble pen because the ink will bleed to the embroidery thread when the stabiliser is washed away.
- Stick the stabiliser to the jeans
- Cut it to several parts if needed

2. Stitching
This is a quite beginner friendly project, it doesn’t require any advanced techniques.
- These are the basic stitches I used for this pattern:
- Hexagon outlines: basic running and backstitches
- Filled hexagons: satin stitch
- Body of the bees: satin stitch
- Wings of the bees: lazy daisy stitch
- Since this garment will be worn and used, make sure to tie the threads instead of tucking them under each other.


3. Wash away the stabiliser
- Immerse the embroidered fabric in water.
- Make sure to wash away the entire stabiliser.
- I like to pop the entire garment in the washing machine afterwards. Because the glue residue will harden the fabric and the embroidery itself.


